
On this page · 5 chapters
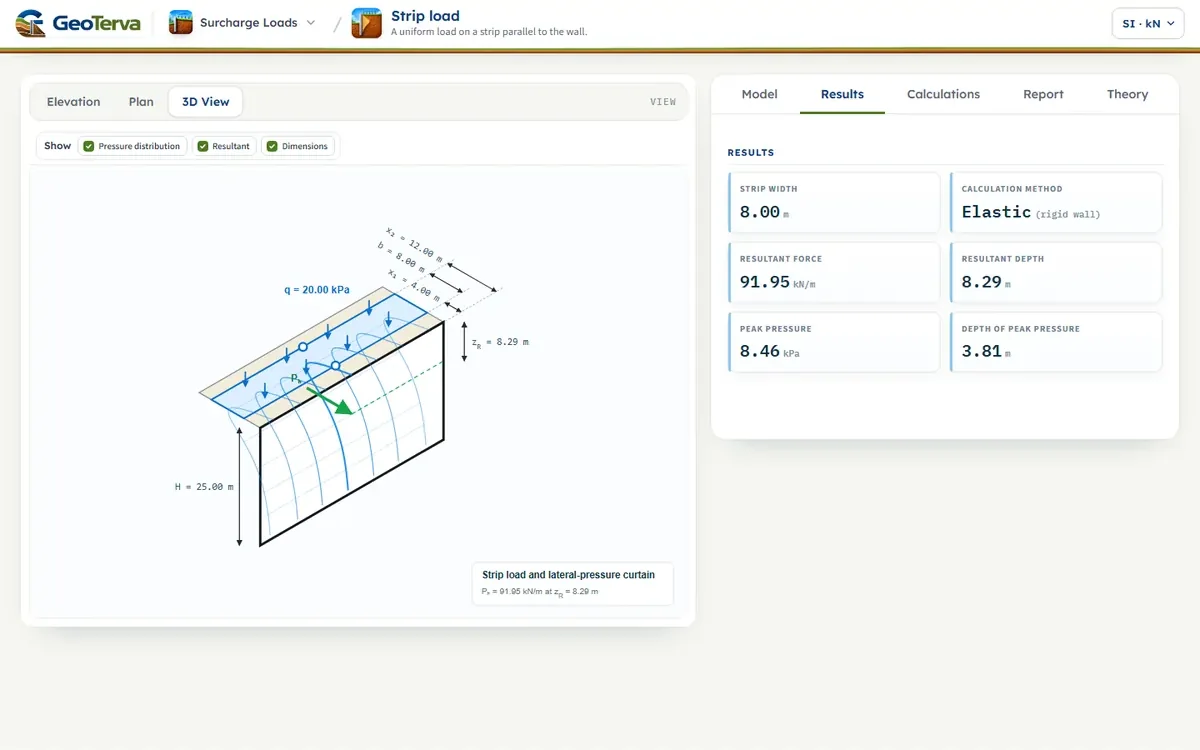
The horizontal pressure that a uniform strip load on the ground, parallel to a vertical wall, adds to the wall: the rigid-wall and the half-space forms, the pressure at a depth, its resultant and line of action. The figure and every number are computed from the module's own equations.
 PDF
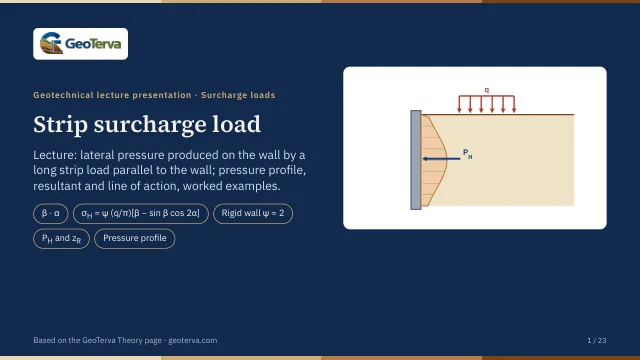
Lecture slides
Ready-made slides for lectures and self-study
The mechanism, the derivation, the equations and the figures of this page, in teaching order. Every slide links back to its chapter.
1Strip load on a wallWhat the module computes.
A uniformly distributed strip load q on the ground surface, extending from x₁ to x₂ away from the wall, adds a horizontal pressure to the wall. The pressure at a depth z follows from the geometry of the two rays that join that point of the wall to the near and the far edge of the strip.
Variables
- — total wall height
- — horizontal distance from the wall to the near edge of the strip
- — horizontal distance from the wall to the far edge of the strip
- — strip width
- — uniform surcharge intensity over the strip
- — depth below the ground surface at which the pressure σH is evaluated
2Pressure at a depthβ, α and the two forms of σH.
At the depth z the strip subtends the angle β at the wall point, and the bisector of that angle makes the angle α with the vertical:
The trigonometric functions of the pressure equation take their angles in radians; the module calculates in radians and shows degrees for reading. At the ground surface the angles take their limits: a strip clear of the wall gives no pressure at z = 0, while a strip that starts at the wall face (x₁ = 0) gives β = 90° and α = 45° there. The horizontal pressure increment is
The half-space form is the horizontal stress a strip load produces in an elastic soil mass with no wall present. A wall that does not yield stops the soil at its face from moving, and the pressure it receives is twice that stress, the doubled form used in design for such walls. The rigid-wall form is the module's default, as for the point load; the half-space form suits a wall that deflects enough to relieve the soil.
Repeating the calculation through the wall depth gives the complete surcharge-pressure profile σH(z). With H = 25 m, x₁ = 4 m, x₂ = 12 m and q = 20 kPa:
| z (m) | β (°) | α (°) | σH half-space (kPa) | σH rigid wall (kPa) |
|---|---|---|---|---|
| 0.00 | 0.000 | 90.000 | 0.00 | 0.00 |
| 2.50 | 20.237 | 68.113 | 3.84 | 7.68 |
| 5.00 | 28.720 | 53.020 | 4.04 | 8.07 |
| 7.50 | 29.922 | 43.034 | 3.11 | 6.21 |
| 10.00 | 28.393 | 35.998 | 2.22 | 4.44 |
| 15.00 | 23.728 | 26.796 | 1.12 | 2.23 |
| 20.00 | 19.654 | 21.137 | 0.5994 | 1.20 |
| 25.00 | 16.551 | 17.366 | 0.3486 | 0.6971 |
Reading the profile
For a strip clear of the wall the pressure is zero at the ground surface, increases to a maximum at an intermediate depth and then decreases with depth. Moving the strip farther from the wall or changing its width changes the angle pair α–β and with it the shape and the size of the diagram; a strip that starts at the wall face loads the top of the wall directly. In the example the peak is 8.46 kPa at 3.81 m for the rigid wall, and 4.23 kPa for the half-space (Table 1).
3Resultant and line of actionArea of the diagram and its first moment.
The resultant surcharge force per unit length of wall is the area under the pressure diagram, and its depth below the ground is where the first moment of the diagram balances:
The module evaluates both integrals numerically to full precision (adaptive Simpson), with the depths concentrated round the strip, where the diagram bends most. The area also has an exact closed form, which the calculation note shows as a check:
For the example, θ₁ = tan⁻¹(4/25) = 0.158655 rad and θ₂ = tan⁻¹(12/25) = 0.447520 rad, so the half-space gives
and the rigid wall twice that, 91.95 kN/m. The depth is the same for both: zR = 8.29 m below the ground, 16.71 m above the base. For a very deep wall PH tends to ψ·q·b/π.
4Worked exampleThe sequence by hand and one ordinate.
The data are H = 25.00 m, x₁ = 4.00 m, x₂ = 12.00 m and q = 20.00 kPa; the example is fixed and does not follow the inputs of the interface. By hand, the sequence is:
- Enter H, x₁, x₂ and q; confirm x₂ > x₁ ≥ 0 and choose the rigid-wall or the half-space form.
- Select a depth z between the ground surface and the wall base.
- Calculate β and α from Eq. (1) and Eq. (2), with z itself in the ratios.
- Calculate σH from Eq. (3), with the angles in radians.
- Repeat and integrate to build σH(z), then PH (or its closed form, Eq. (6)) and zR from the first moment (Eq. (5)).
The ordinate at z = 5.00 m
In radians β = 0.50126 and 2α = 1.85075:
5ReferencesSources.
- Das, B.M. (2016). Principles of Foundation Engineering, 8th ed. Cengage Learning; this page follows it.
- California Department of Transportation. Trenching and Shoring Manual — the rigid-wall (doubled) form of the strip-load pressure.
From theory to your own design
Find the pressure from your own strip load in minutes
- The pressure with depth, and the resultant with its height
- Drag the strip or its edges and watch the diagram change
- Elevation, plan and 3D views
- A clean calculation report, saved as a PDF. Online: nothing to install, no dongle, on a phone, a tablet or a PC